
My recording technique | Deep Sky
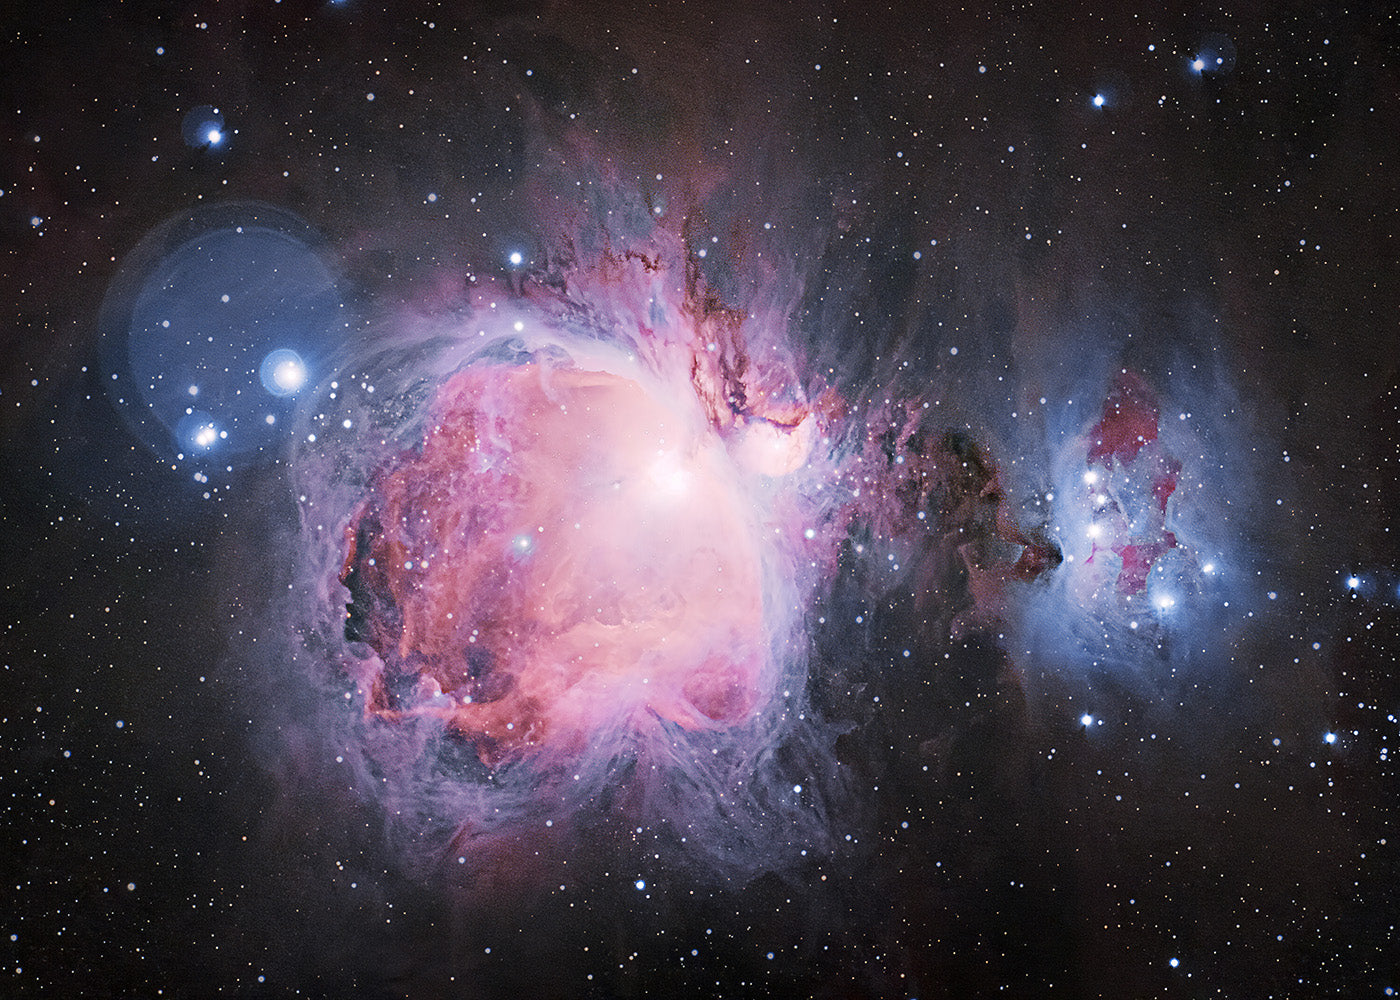
Last year, due to the Covid-19 pandemic, I was unable to travel to spectacular locations to pursue my passion for astrophotography. But I took advantage of the time at home and continued working on my deep sky astrophotography. The great thing about deep sky photography is that you can do it anywhere in the world. With the right equipment, like the Sony α7R III, light pollution isn't an issue.
Tutorial video:
The original article can be found at: https://www.sony.de/alphauniverse/alpha-academy/articles/how-i-shoot-deep-space .
Thanks to Sony Germany, Optik Makario, Fornax Mounts and Astro Pixel Processor for realizing the project.

Astrophotography vs. Deep Sky Photography
For me, astrophotography are the images in which the landscape is combined with the celestial elements that we all know, such as the moon, the stars and of course the Milky Way. Deep sky photography, on the other hand, involves photographing a subject in the night sky using a telephoto lens, such as the Sony FE 200-600mm f/5.6-6.3 G OSS lens, and usually a 2x teleconverter. With this combination you have a super telephoto lens with a focal length of up to 1200 mm. Apps I use such as B. Stellarium, help to find the chosen motif in the night sky.
The way light is emitted from these distant celestial bodies in space makes it possible to photograph them in your own backyard. You don't have to go to a dark, remote location to capture spectacular images. The moon is the perfect subject to get started because you can photograph it with very affordable cameras and lenses.

The science
Digital cameras have a filter in front of the sensor that blocks certain frequencies of light that the human eye cannot see, such as infrared or ultraviolet light. I have a modified Sony α7R III that has had this filter professionally removed so that it can capture these frequencies of light from space that our eyes cannot see. *

But to see only the light from space, I have to block almost all visible light and only let certain wavelengths through. So I use another special astro filter that I temporarily attach in front of my sensor when taking photos.
Due to the Earth's rotation, the stars in the sky appear to move. To get around this effect, I attach my camera and lens to a sky tracker. This device moves the camera slowly according to the speed of the Earth's rotation to prevent blurry images or star trails, even with exposures lasting several minutes at a time.
The right exposure
There is very little light coming into my Sony α7R III camera, so I set my lens to the widest possible aperture and the camera sensitivity to the highest ISO with low noise, in the case of my Sony α7R III that is ISO 800. Then I expose that Picture as long as possible, but depending on the situation this could be a minute or even ten minutes.

The trick with deep sky photography is that you don't take a single image. You take as many photos as you can, hundreds, even thousands of images. I can sit in my garden all night and photograph the same subject over and over again. The final image exposure is then created by superimposing the images on top of each other using software such as Astro Pixel Processor or Deep Sky Stacker, known as stacking.
The software looks for details in the image that are consistent across thousands of photos. It filters out the details that aren't consistent, like noise or weather conditions, allowing for incredibly sharp, detailed images - all while shooting in the garden.
The beginning
If you're just starting out, you can focus on something simple, like photographing the moon. You don't need a modified camera for this, you can use a camera like the Sony α7C or the α7 III and a telephoto lens like the Sony FE 200-600mm f/5.6-6.3 G OSS with a 2x FE teleconverter.
Exposure depends on what you see on your screen. You should make the image as bright as possible using the camera's histogram so that you don't overexpose the highlights. Then you photograph a series of images to overlay them on top of each other.

It's best to create a stacking for the moon because there is a lot of turbulence in our atmosphere. If you take a single image of the moon, you may only have an area that is in focus. By taking multiple shots and stacking them together, you create a final image in which the entire surface of the moon is sharp and detailed.
And you don't need a star tracker when photographing the moon. You should just make sure that the moon is in the center of the shot the entire time; the stacking software takes care of the alignment of the individual images.
* Please note that camera modifications are not carried out by Sony or authorized service centers. Hardware modifications are not recommended by Sony and are done at the owner's own risk.


Leave a comment
Comments will be approved before showing up.
Also in Stories

Combining landscape and astrophotography - Traveling in the American Southwest
As the sunset fades over the swirling sandstone formations of White Pocket, Arizona, photographer Stefan Liebermann waits for the Milky Way to emerge above him. On the road in the Southwestern United States with the Sony 28-70mm F2.0.

Photographing in Iceland: Volcanic eruption and Northern Lights

Stefan Liebermann
Author